

This blog post contains affiliate links. If you purchase an item using our link, we may receive a small commission at no additional cost to you.
If you’re expecting chicks this spring, you’re going to need a chick brooder to house your fluffy friends before they go outside. Some key things you need to keep in mind as you design your chickies home are:
· Chicks grow extremely fast
· Cleanliness is key to a healthy chick
· Adequate space is necessary and chicks need the ability to escape heat
1. Brooder Structure
Depending on when you purchase or hatch your chicks, your chicks will likely be living in the brooder for about the first 7 weeks of their lives. Chickens grow quickly so you need to account for this when you pick your housing structure. Below are some popular options:
1. 40 Gallon Plastic Container
This option is a really popular option I see online. The common problem I see with plastic containers is that the chicks outgrow these spaces really quickly and the chick owners end up having to build a second brooder. If you plan to move your chicks outside earlier than 7 weeks, this may be a viable option.
Pros:
- Readily available
- Easy to transport
- Easy to modify for owners needs
- Cost effective
Cons:
- Sides are low and chicks will quickly outgrow
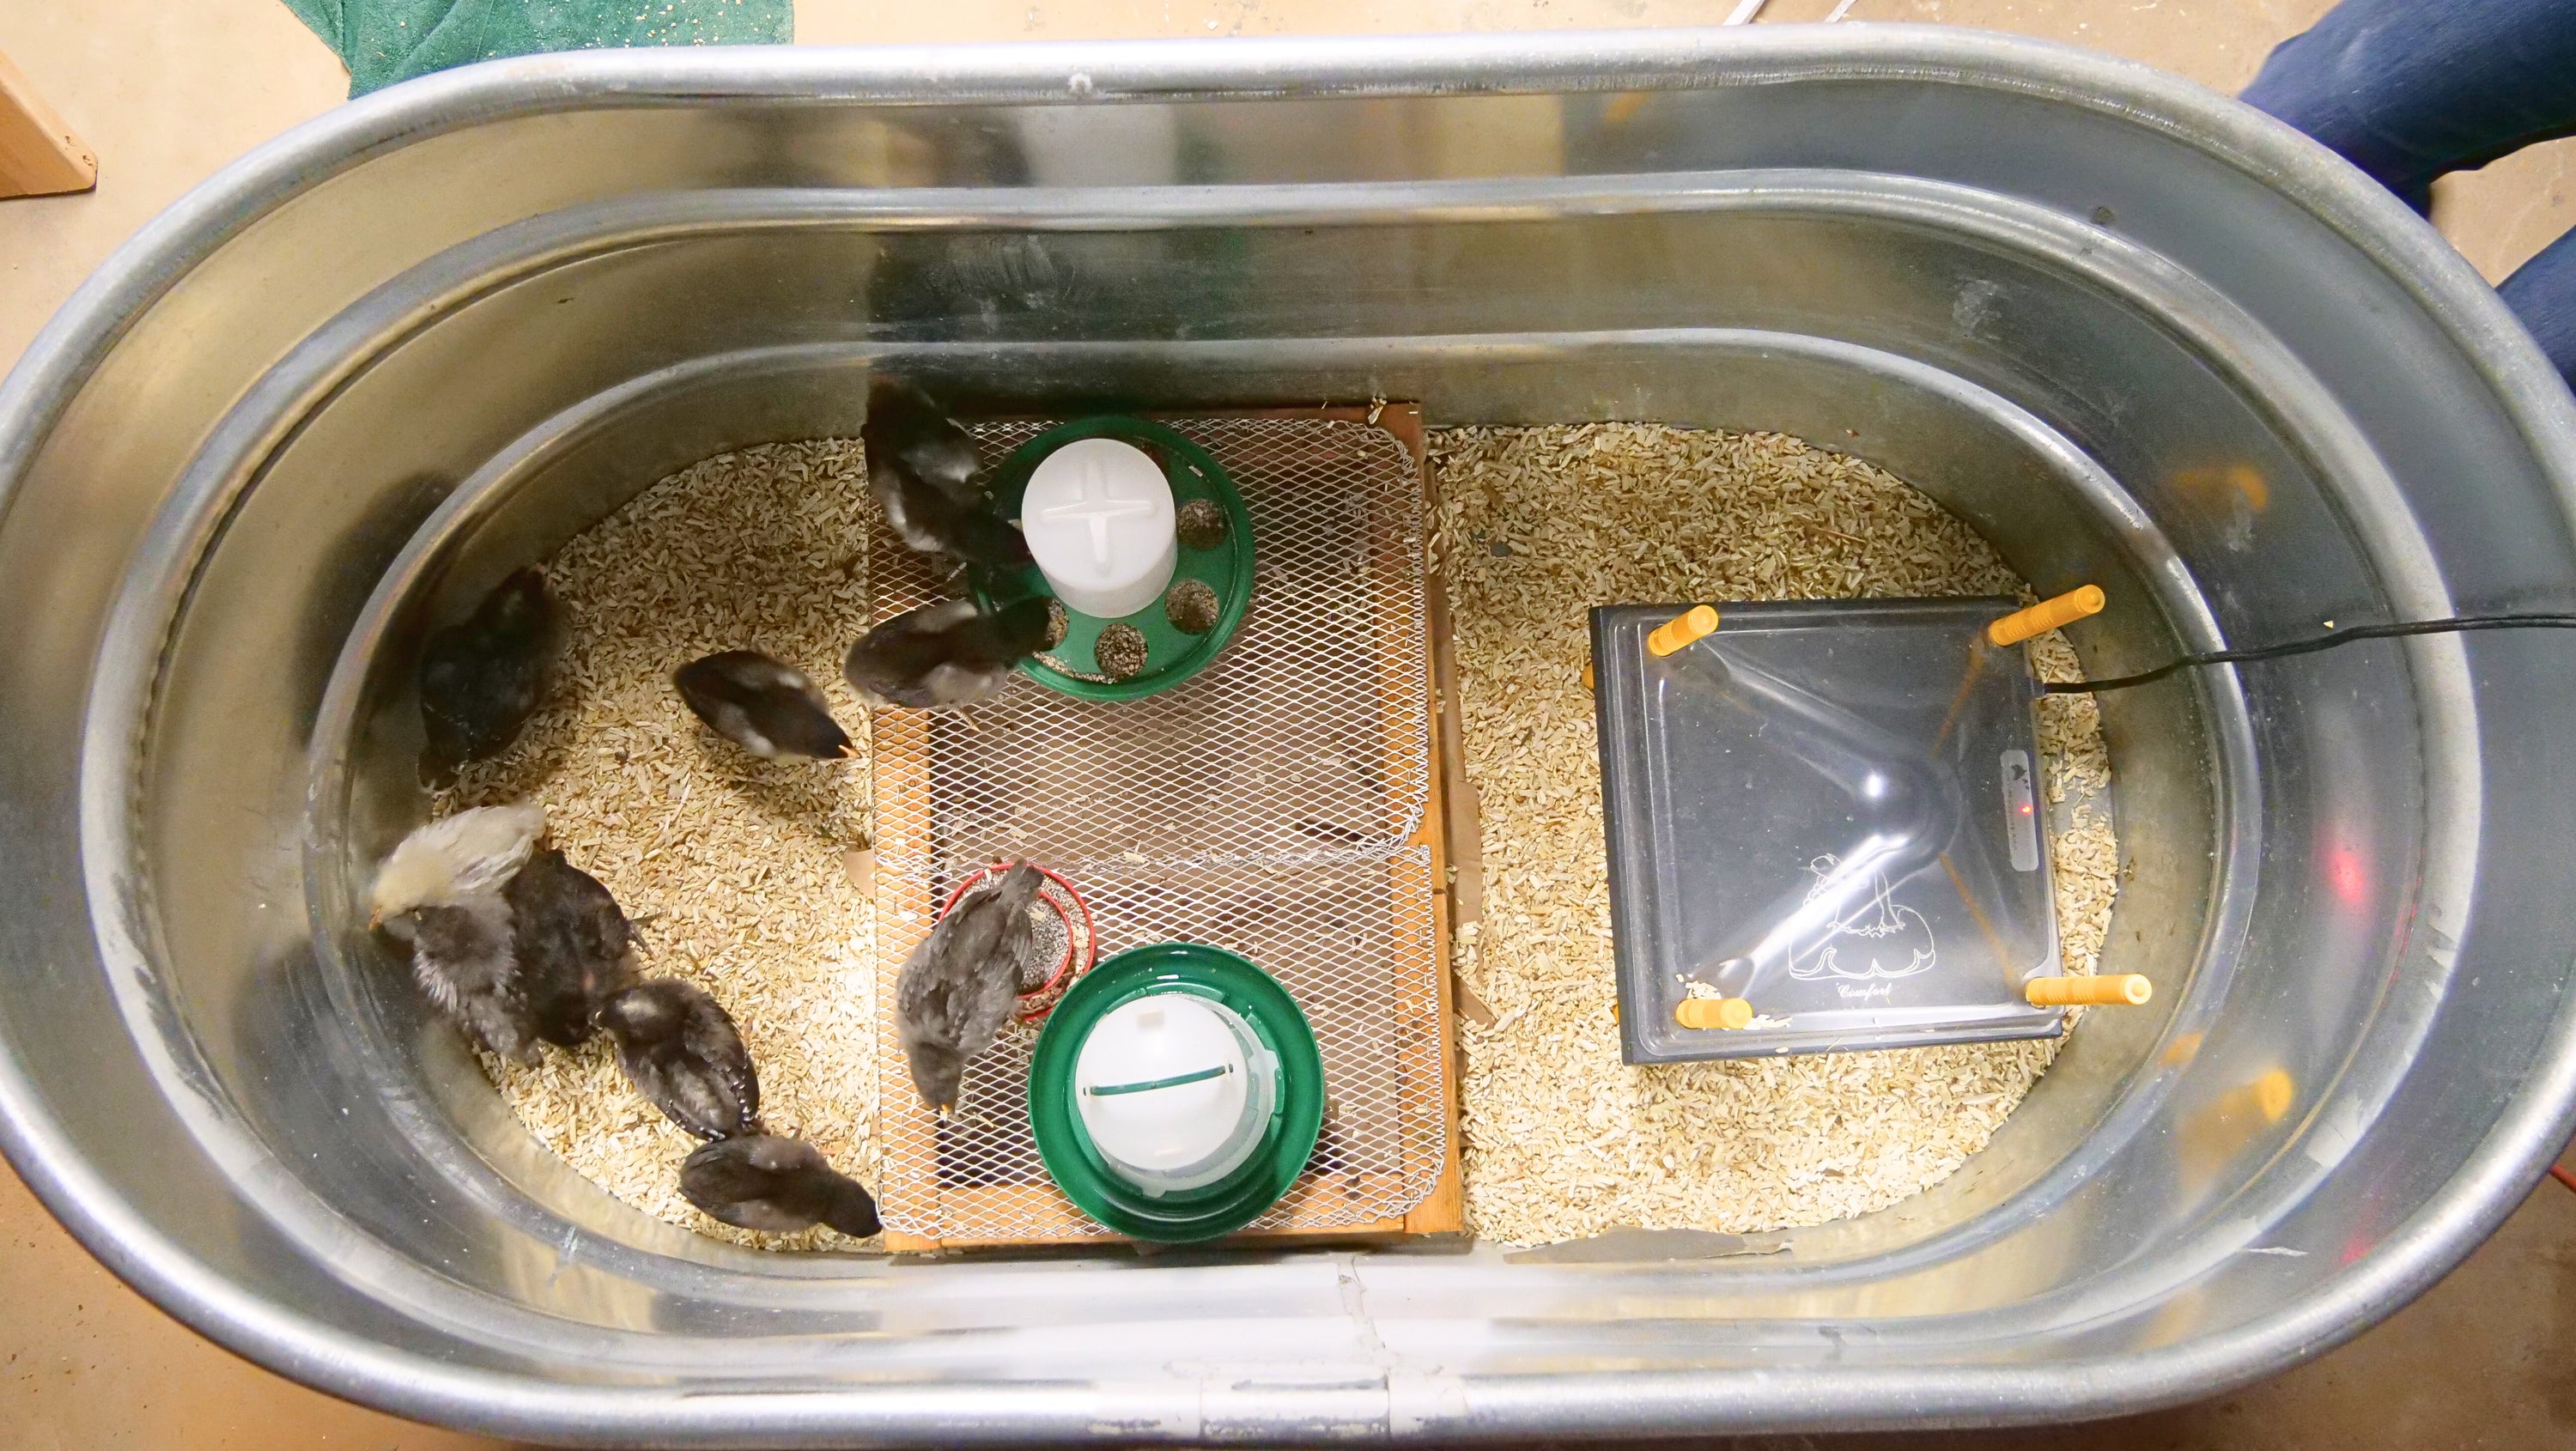
2. 100 Gallon Metal Stock Tank
This is what we use, and we absolutely love it. It works great. It is large enough for the number of chicks we typically raise, and they don’t outgrow it until about 7-8 weeks. We were able to find one on sale for over 50% off at Tractor Supply.
Pros:
- Large enough to house chicks in for the entire duration they are inside
- Easy to clean
- Can be used for other purposes throughout the year
Cons:
- Higher Price Point (unless you can find it on sale!)
- Difficult to transport with chicks inside
3. Camping Tent
This is something I recently saw on YouTube and thought it was worth mentioning. I think this could be a great option if you’re working on a budget and want to use something you already have. Cleaning may be difficult and you need to think about how you will maintain the brooder properly and effectively.
Pros:
- Readily available (may already own)
- Large enough to house chicks for entire duration they are inside
Cons:
- Difficult to clean and maintain
- Difficult to transport with chicks inside
4. Recycled Shipping Container Box
This is an option we considered exploring before we found a 100 gallon tank on sale. Call around to local manufacturers to see if they might have a wooden shipping container you can repurpose into a brooder.
Pros:
- Cost effective
- Large enough to house chicks for entire duration they are inside
Cons:
- Difficult to transport with chicks inside
5. Folding Chick Brooder
This is a new product that was just released by RentACoop. This folding brooder is easy to assemble and has a lot of features including: stores flat when not in use, includes a top cover to prevent chicks from escaping, and includes holes to mount feeder and waterer.
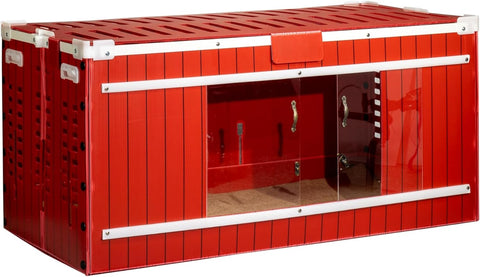
Photo Credit: Amazon.com
Pros:
- Easy to assemble
- Purpose built for mounting food and waterer
- Easy to clean
Cons:
- Higher price point
- Can only really be used for raising chicks
6. Portable Dog/ Animal Pen
A Portable Dog/Animal Pen is similar to using a tent but may be easier to maintain since you don't have to go into the structure to clean it. This is an affordable option and may be large enough to house the chicks until they are ready to go outdoors.
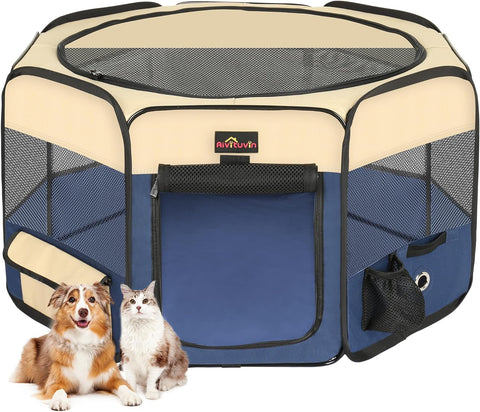
Photo Credit: Amazon.com
Pros:
- Lower price point
- Easy to set-up
Cons:
- Hard to clean
- May not be large enough to house chicks entire time indoors
7. Custom Built Structure
The last option is to build something completely custom. Get creative! Use materials you already have on hand and keep in mind these key features:
1. Easy to clean
2. Large enough to house chicks as they rapidly grow
2. Heat Source:
Your chicks need a source of heat in the brooder. There are two popular options below. Make sure your chicks have enough space in your brooder to escape the heat if they want/need to!
Heat Lamp
This is an affordable source of heat for your brooder. The one downside to using a heat lamp is that there is an increased chance of fire in the case that the lamp were to fall and catch any of the bedding on fire.
Heat Plate Brooder
We use a heat plate brooder with an anti-roost cone for our chicks. We like the heat plate because of the reduced risk of fire. Adjusting the height of the heat plate is really easy and you do this as the chicks grow! We like to set ours so that one side is higher than the other. This creates a gradient of heat and allows the chicks to decide how much heat they would like.
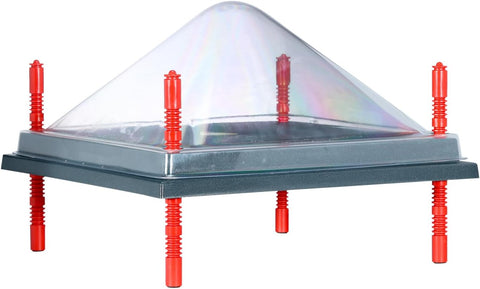
Photo Credit: Amazon.com
You can purchase a heat-plate brooder without the anti-roost cone as well. We like the anti-roost cone because as the chicks grow, they will try to jump on the heat plate and leave a poopy mess!
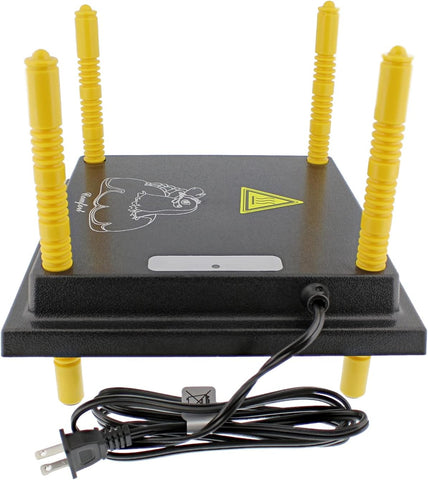
Photo Credit: Amazon.com
3. Feeder:
You can feed your chick out of a special container designed for chicks or out of a container you already have on hand. The benefit of using containers built for chicks is that they can’t easily scratch out the feed and they also are less likely to poop in it.
We use the feeder and water set shown below but you can also purchase a feeder base attachment that will connect to a standard mason jar!
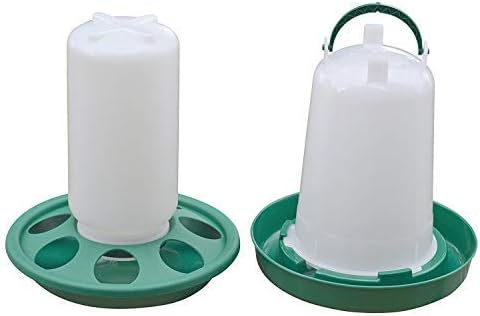
Photo Credit: Amazon.com
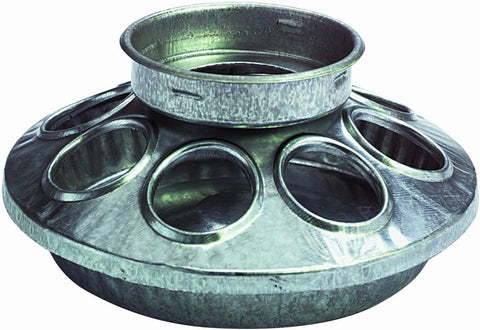
Photo Credit: Amazon.com
4. Water Container:
Continuous access to water is essential to the growth and health of your chickens. Make sure to keep it clean and refresh it regularly. When you receive your chicks for the first time, you will need to dip their beaks in the water to teach them where to find the vital resource! We recommend purchasing a bulk water container that is specifically meant for chicks. Below are some popular options.
Chick Waterer with Nipple
This is a great option for chicks! The benefit to using a waterer with a nipple is that the chicks can’t kick their bedding into the container which means less cleaning for you. You will need to “teach” the chicks how to use it. This is a simple process of tapping the nipple until the chicks learn how to drink!
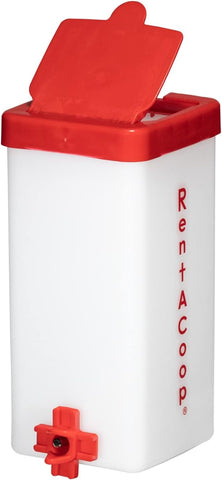
Photo Credit: Amazon.com
Water Base for Standard Mason Jar
The water base option is great for someone looking for a container specially built for chicks but also wanting to use a jar they already have on hand!
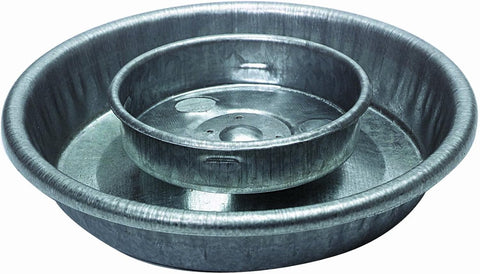
Photo Credit: Amazon.com
Feeder and Waterer Set
This is the feeder and waterer set that we have for our chicks! We’ve been really happy with both containers. They are easy to clean and maintain.
We also recommend adding electrolytes to the water for the first 2 weeks. If you are receiving mail order chicks, the babies will arrive at your house dehydrated and hungry so make sure to be prepared!
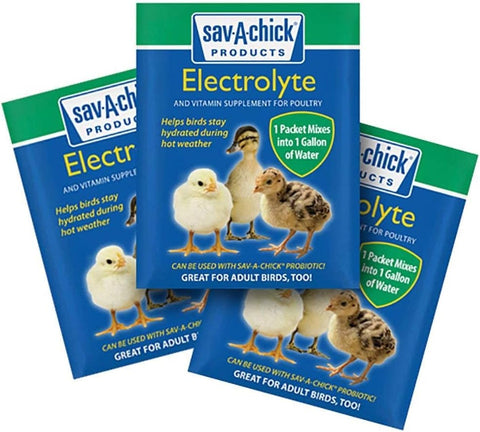
Photo Credit: Amazon.com
5. Bedding:
Pine Shavings:
Pine shavings are readily available at most feed stores and they are cost effective. The biggest negative about using shavings as the bedding is that it can be extremely dusty. This isn't ideal because chickens have very sensitive respiratory systems.
Chicks like to nest and scratch around in their bedding which can increase the dust.
We used pine shavings our first time raising chicks and it caused our chicks to sneeze. We spoke with a local vet and they said to try a less dusty bedding.
You can purchase pine shavings online, at Tractor Supply, or a local feed mill.
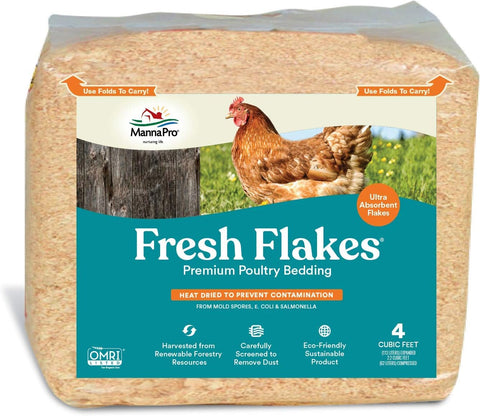
Photo Credit: Amazon.com
Hemp Bedding:
Last year we switched to using hemp bedding. This bedding has essentially NO dust and worked out great for our brooder! We ended up using about 4 full bags of hemp from Eaton Pet and Pasture while our chicks were indoors.
Hemp bedding is quite a bit more expensive so we currently only use it for raising chicks and use pine shavings in the coop.
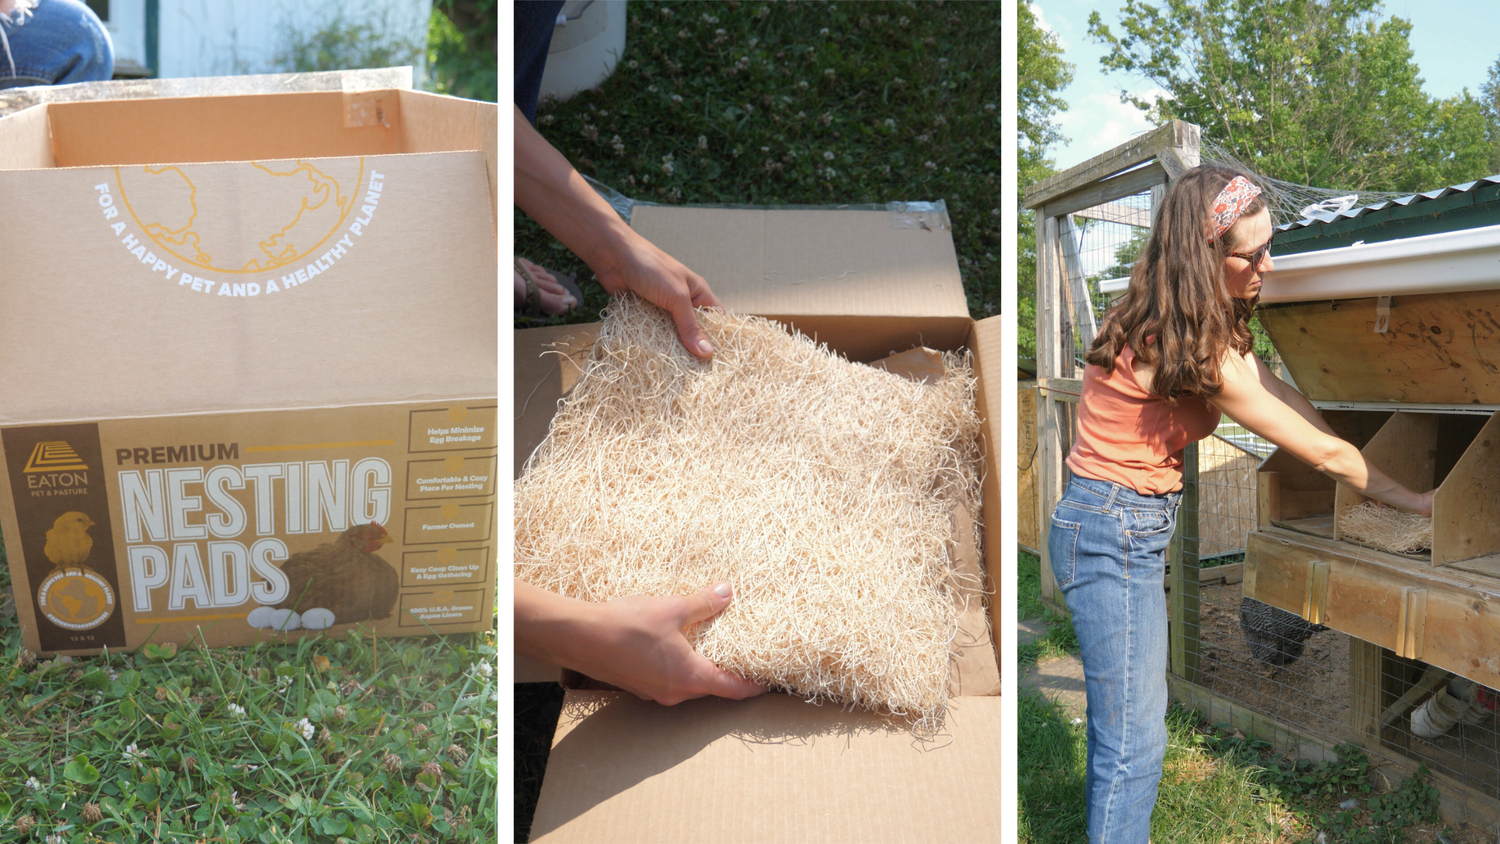
Use our code MASONDIXONACRES20 for 20% off your first order at Eaton Pet and Pasture! We recommend their nesting pads as well! They make cleaning the nesting box a lot easier.
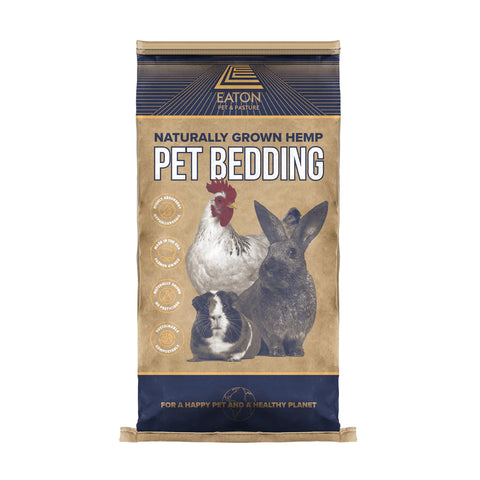
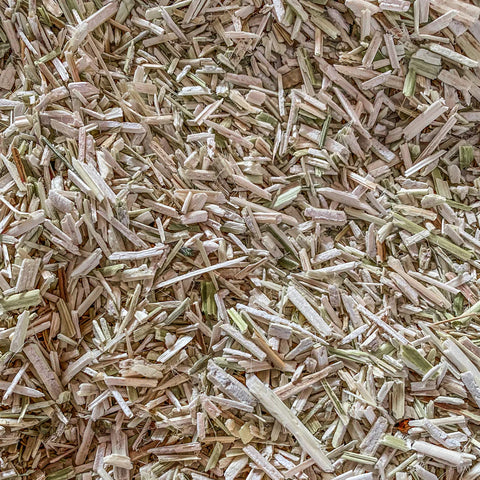
Photo Credit: EatonPetandPasture.com
Paper Bedding:
Paper bedding is another option. We tried a version of this called Roost by PittMoss and it didn’t work well for our chicks. The texture of the bedding was extremely soft which was great but unfortunately it kept getting stuck the the chicks feet and then would harden. We found ourselves having to clean off their feet regularly so we decided to switch the chicks over to hemp!
It might be worth trying another paper bedding that is shredded instead of a soft texture.
6. Feed
Chicks require feed that’s specially formulated for chicks. Throughout the hens life, you will provide different feed. Chick feed is formulated with higher protein to help them grow strong bones and feathers!
Here's a breakdown:
0-8 Weeks: Starter Feed
8-20 Weeks: Grower Feed
20+ Weeks: Layer Feed
We recommend purchasing a high quality, organic and non-GMO feed. We highly recommend Scratch and Peck Feeds Organic Starter Crumbles.
Scratch and Peck Feeds is organic, non-GMO, family-owned, and sourced from all North American farms! The feed is also packaged in paper which is great if you are looking to reduce single use plastic.
Use our code “MASONDIXON15” to get 15% off! You can use this code up to 3 times 🎉
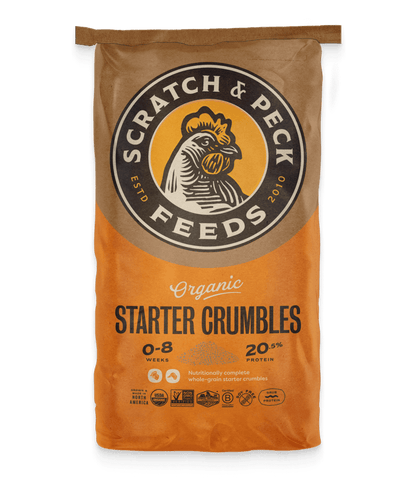
Photo Credit: ScratchandPeck.com
You can also purchase a Chick Starter Bundle which includes both Feed & Grit to help you get started!
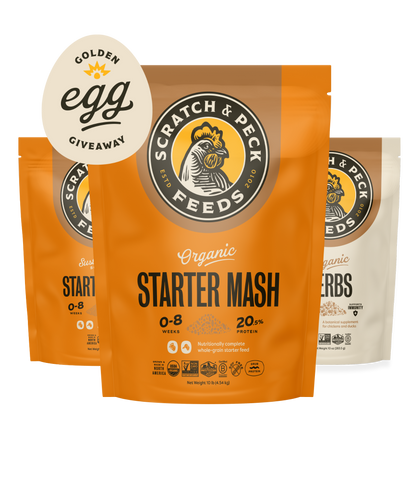
Photo Credit: ScratchandPeck.com
Another option is to source chick feed locally at a local feed store such as Tractor Supply or from another local feed mill.
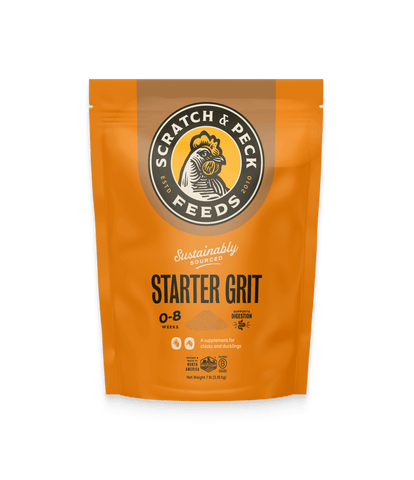
7. Grit
Grit is necessary for the proper digestion of feed. Providing chick grit helps develop the gizzard at a young age. Grit in the gizzard helps the chicks break down food.
Sprinkle it on top of their food for the first few days and then move it to a separate container where they can eat it free choice.
Similar to the feed, make sure to purchase grit that is sized for chicks!
Here's a breakdown:
0-8 Weeks: Starter Grit
8-20 Weeks: Grower Grit
20+ Weeks: Layer Grit
This is our exact set-up:
1. 100 Gallon Stock Tank (from Tractor Supply)
2. Heat Plate Brooder with Anti-Roost Cover
5. Hemp Bedding
(MASONDIXONACRES20 for 20% OFF first order)
6. Scratch and Peck Feeds Organic Starter Crumbles
(MASONDIXON15 for 15% OFF up to 3 orders)
7. Scratch and Peck Chick Grit
(MASONDIXON15 for 15% OFF up to 3 orders)

1 comment
Thanks for sharing